Build RV Stairs: Safe DIY Steps, Fit & Stability Tips
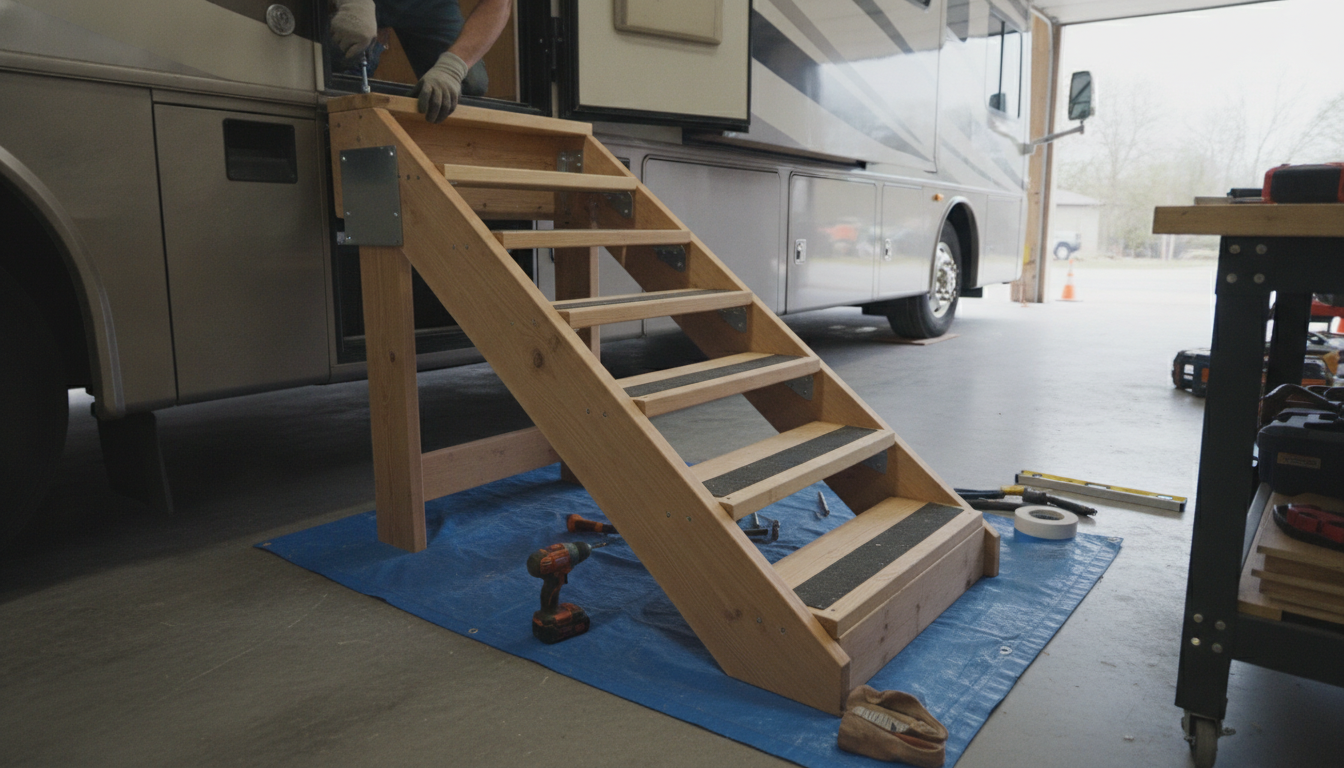
How do I build stairs for my RV?
Building RV steps can be a solid DIY project, but the safest approach is to start by deciding whether you’re truly “building” from scratch (wood or metal fabrication) or assembling an RV step system designed for travel. Most RV owners get better stability, traction, and long-term durability by installing a purpose-built step unit and adding a handrail, rather than relying on makeshift blocks or a lightweight wooden box.
1) Measure your rise, height, and clearance
Park the RV on level ground and measure from the ground to the entry threshold. Then check under-door clearance and how far the steps can project without creating a trip hazard. If your campsite surfaces vary, plan for adjustability (or choose steps designed to sit securely on uneven ground).
2) Choose a stair style that matches how you travel
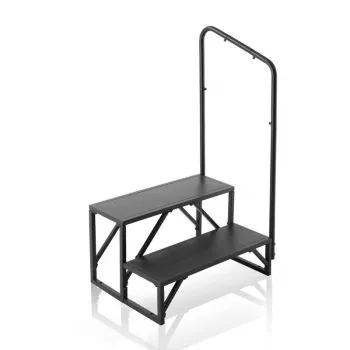
Common options include fixed two-step units, fold-down steps, and portable steps. For frequent stops, a portable two-step with a wide top platform can be quick and stable. If you need extra confidence for kids, pets, or anyone with limited mobility, prioritize a handrail and a non-slip tread surface.
3) Focus on safety: traction, width, and hand support
Use non-slip treads or grip strips, keep the stair width comfortable, and avoid steep step spacing. A handrail reduces fall risk dramatically, especially when the ground is wet, sandy, or sloped. If you’re using a portable unit, pick one with a sturdy base and a frame that doesn’t flex under load.
4) Install and test before your trip
Assemble per manufacturer directions if using a step kit. If you’re fabricating, fasteners and joints must handle vibration during travel. Once set up, test the stairs with full body weight, confirm they don’t rock, and verify the door opens freely without catching.
For a practical, safer setup (including a two-step option with a handrail), see the full guide here: https://reliableproductsmart.shop/guide-2-step-rv-stairs-with-handrail-safer-entry/.
FAQ
How do I keep RV steps from wobbling on uneven ground?
Use a step unit with a wide, rigid base and place it on a firm surface whenever possible. Level the contact points with stable shims or pads made for outdoor use, then re-check for rocking before stepping up.









Leave a comment