Wet Concrete & Stone Polisher Guide: Grits, Pads, Safety
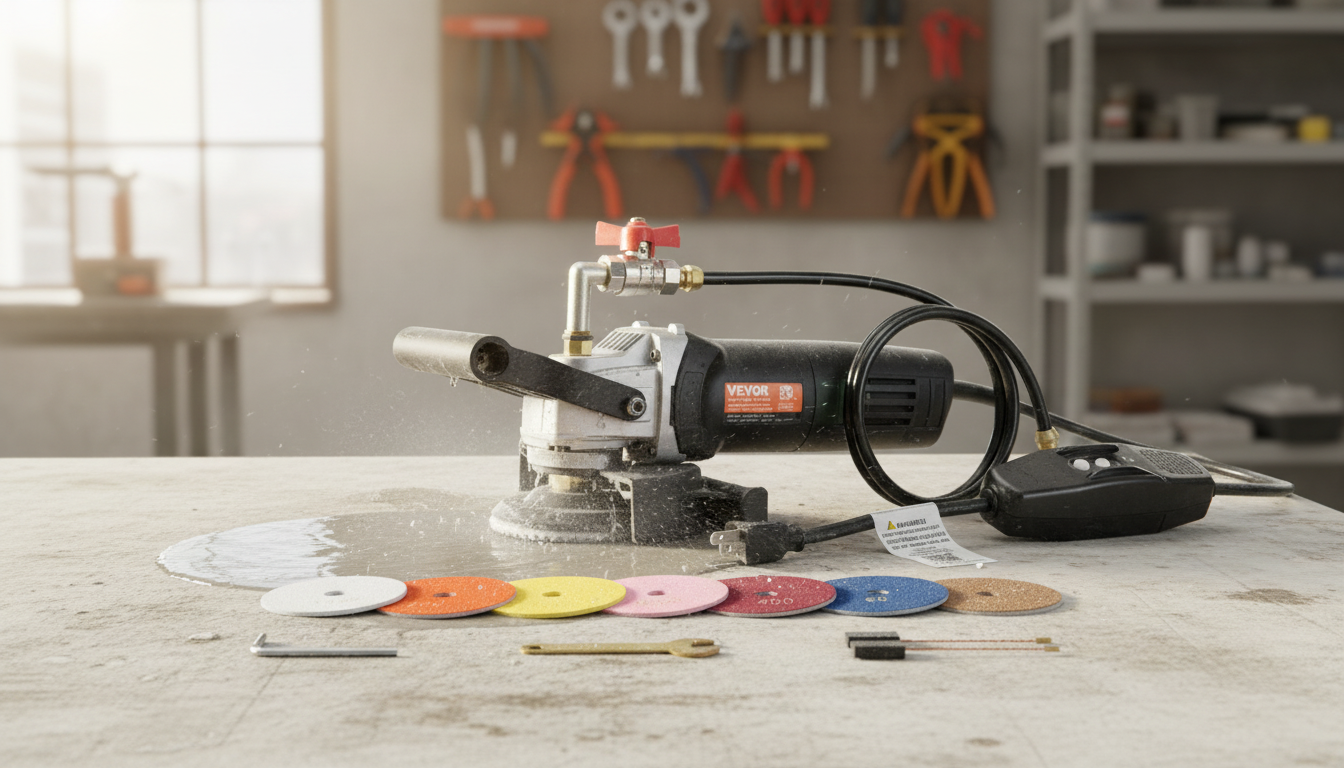
Wet Concrete & Stone Polisher for Smooth, Glossy Finishes
A wet polisher is built to grind and polish concrete and stone while using water to control dust and keep pads cooler. With the right setup and grit progression, it’s a practical way to refine countertops, edges, and small floor areas—especially when finish quality matters as much as speed.
What a Wet Polisher Does (and Why Water Matters)
Wet polishing delivers water right where the pad meets the surface. That small detail changes everything: it reduces airborne dust, helps manage heat, and keeps the diamonds cutting instead of glazing over. Water also flushes slurry and debris away from the cutting face, which can extend pad life and improve consistency from pass to pass.
Wet polishers are commonly used on concrete, terrazzo, granite, marble, engineered stone, and other masonry surfaces—provided the pad set is compatible with the material. They shine in finishing work: refining scratches, flattening minor highs, blending seams, and building a uniform sheen without loading the work area with dry dust. For background on silica exposure and why dust control matters, review OSHA and NIOSH guidance: OSHA’s Respirable Crystalline Silica Standard and NIOSH silica resources.
Projects That Benefit Most
- Concrete countertops: refine cast texture, soften seams, and work up to a clearer finish with progressive grits.
- Stone edges and cutouts: smooth sink cutouts, bullnose edges, and tight radii using the right pad diameter and backing.
- Small floor repairs: blend patched areas or address light lippage (large floors are often faster with dedicated floor machines).
- Outdoor stone and pavers: remove saw marks and tune the finish for traction by stopping at a lower grit when needed.
What to Look for in a Wet Concrete & Stone Polisher
- Variable speed: lower speeds help with initial control; higher speeds can improve clarity during the finishing stages (always follow pad maker guidance).
- Ergonomics and balance: edges and vertical sections demand a comfortable grip and manageable weight.
- Water feed control: a valve or controllable feed prevents flooding while keeping pads wet enough to avoid overheating.
- Thread/backing compatibility: confirm the backing pad size and attachment standard, then match pads accordingly.
- GFCI protection: wet work requires ground-fault protection and cords/connectors rated for the environment.
- Serviceability: easy brush access and a housing that tolerates wet slurry exposure reduce downtime.
Setup: Surface Prep and Work Area
Results are usually determined before the tool ever touches the surface. Start by cleaning off contaminants that can interfere with cutting—waxes, coatings, or certain topical sealers. If stripping is required, confirm the chemical is compatible with the substrate and follow label directions.
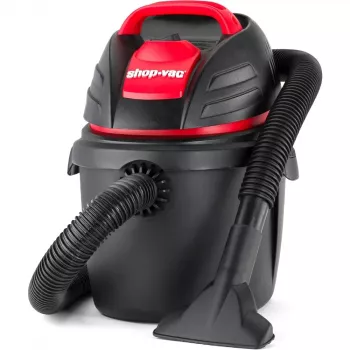
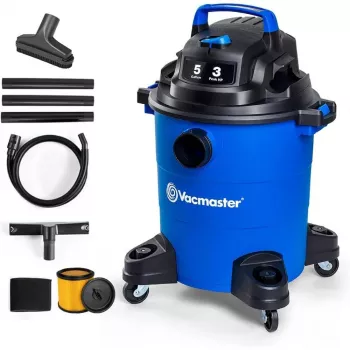
Mask adjacent cabinets, walls, and finished flooring. Plan slurry management early: towels, plastic sheeting, berms, and a wet vacuum can keep runoff from spreading, and covering nearby drains helps prevent clogs. Before polishing, inspect the cord and plug, verify the water connections are secure, test the GFCI, and confirm the backing pad runs true.
For a stable staging area when working on countertops or stone pieces, a rolling prep surface can help keep tools and towels within reach, such as a Stainless Steel Kitchen Work Table with Wheels.
Polishing Workflow: A Practical Step-by-Step
1) Start at the right grit. Begin only as aggressive as needed to remove defects. Starting too coarse creates deep scratches that take longer to chase out.
2) Keep a consistent pattern. Work in overlapping passes with even pressure. Don’t linger in one spot—dips and swirl marks are often caused by overworking a small area.
3) Use controlled water. Aim for a thin, milky slurry. Too little water can overheat pads; too much can cause hydroplaning and reduce cutting.
4) Rinse between grits. Rinse the surface and the immediate work area thoroughly so a stray coarse diamond doesn’t create random scratches in a finer step.
5) Inspect under good lighting. Use raking light (angled light) to spot scratch patterns before moving up. Advancing too soon locks defects into later stages.
Typical Grit Progression and What Each Stage Does
| Stage | Common Grit Range | Goal | Notes |
|---|---|---|---|
| Initial correction | 50–100 | Remove heavy scratches, saw marks, minor unevenness | Use only when necessary; deep scratches require more follow-up steps |
| Refine surface | 200–400 | Remove coarse scratches and begin smoothing | Rinse thoroughly between steps to avoid contamination |
| Pre-polish | 800–1500 | Build clarity and reduce haze | Keep water controlled; inspect often under angled light |
| Polish | 3000+ | Increase gloss and uniformity | Some surfaces benefit from polishing compounds per manufacturer guidance |
Pad Selection, Speed, and Pressure Basics
Safety and Cleanup for Wet Polishing
Common Problems and Quick Fixes
Product Options for Your Setup
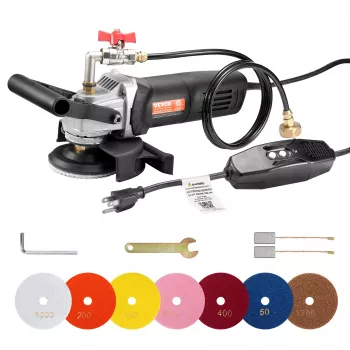
- Wet Concrete & Stone Polisher ($146.01) for wet grinding and polishing on concrete and stone where dust control and finish quality matter.
- Stainless Steel Kitchen Work Table with Wheels ($82.17) to create a movable, easy-to-clean staging area for pads, towels, and wet vac accessories.
- Foldable Utility Shopping Cart with Wheels & Telescopic Handle ($30.51) for moving pad sets, water containers, and other jobsite supplies without repeated trips.
FAQ
Can a wet polisher be used dry if water isn’t available?
Generally not recommended unless the tool and pads are specifically rated for dry use. Dry grinding increases dust and heat, and it typically requires proper shrouds and HEPA dust extraction to be done responsibly.
What grit should be used first on a concrete countertop?
Start with the least aggressive grit that removes the defects, often 100–200 for light refinement. Use 50 only for heavy correction or saw marks that won’t come out otherwise.
How much water is ideal during wet polishing?
Use enough water to keep the pad wet and form a thin slurry while still allowing the diamonds to cut. Too much water can reduce cutting and create a mess, while too little can overheat and glaze the pads.







Leave a comment